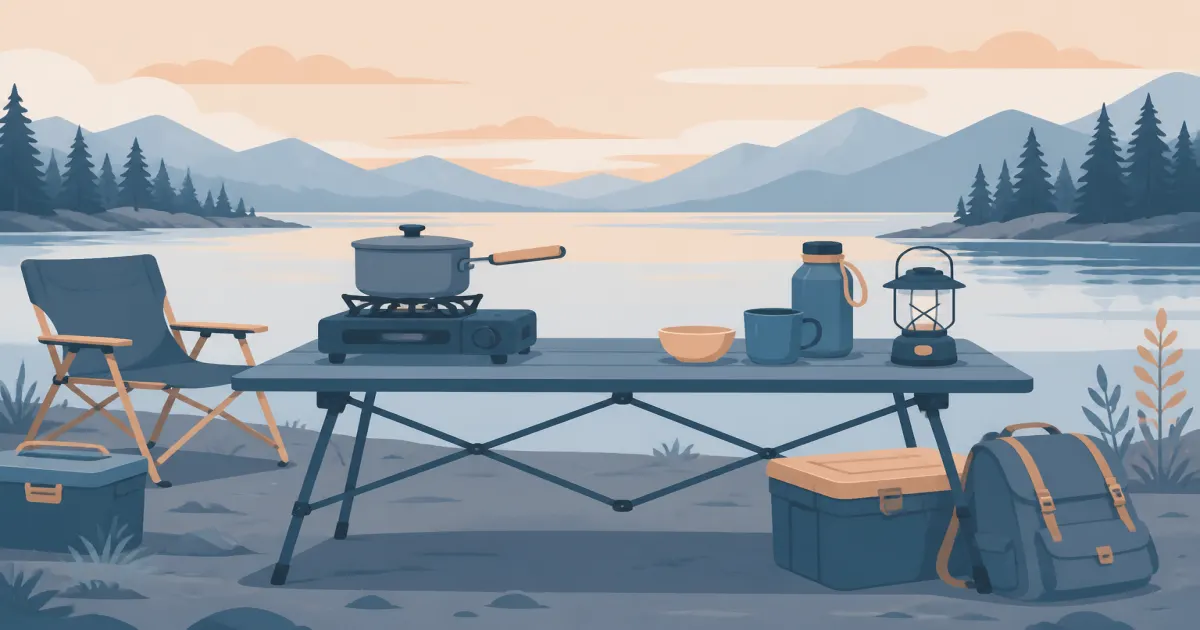
Camping Stove Setup: A Short Checklist for Car Camp and Trail
Stoves
A camping stove setup is a short checklist, not a vibe. Level the base, block wind without cooking the canister, choose the right fuel, leak check the connection, and keep a backup spark in the same pouch.
Our picks
Most stove problems show up in the first five minutes. The pot wobbles. The flame blows out. The canister hisses because the connection was half threaded. A deliberate camping stove setup checklist prevents those failures before you depend on heat for dinner. The stoves category gathers the burners and fuel guides this setup needs.
This guide covers placement, windscreens, fuel choice, leak checks, first-light steps, and the small gear that turns a stove into a working system. For burner comparisons, see best camping stove. Cassette table burners live in best butane camping stove. A model-specific camping stove stand helps small burners stay level, while a camping toaster adds an easy breakfast option. For canister vs propane notes, read camp stove fuel types. For how a windscreen fits in, see camping stove windscreen.
Choose the surface before you unpack fuel
Flat ground or a stable table beats a clever hack every time. Legs should lock fully on folding tables. On soil, pad uneven spots with a board so the stove does not rock when you stir.
Keep the setup off dry grass, pine needles, and leaf litter. Embers and hot metal start fires faster than most new campers expect. Clear a workspace roughly two feet beyond the stove on all sides when space allows.
Position downwind from tents, hammocks, and tarps. Wind carries heat and sparks toward fabric. If wind direction shifts at night, move the stove before the evening cook, not after flames are live.
Never cook inside enclosed spaces. Vestibules feel sheltered but trap carbon monoxide. Run stoves in open air with room for smoke and heat to leave.
Windscreens and airflow
Wind steals heat and can blow out flames on small burners. A screen blocks horizontal breeze while leaving top ventilation open. Many integrated boil systems include partial shields; open-burner stoves often need an add-on. The full screen guide lives in camping stove windscreen.
On canister stoves, do not fully wrap the fuel can in metal. Heat reflection can warm the canister beyond safe limits. Shield the pot and flame from the windward side only, with gaps for air.
Test the screen at home once. Some designs fit only specific burner heights. A screen that sits too tight chokes the flame yellow and sooty.
If wind is severe, rotate the whole kitchen behind a vehicle, rock outcrop, or camp kitchen wall when rules and safety allow. Combine natural breaks with a screen for the best result.
Pick the right fuel for the trip
The right fuel depends on the stove, the weather, and how cold the night gets. Use the wrong fuel and the canister underperforms or stops feeding flame altogether.
Propane works in car camp stoves and bulk tanks. It runs at higher pressure, so cold mornings still produce usable flame down to about 20°F. Bulk propane feeds two-burner cookers, lanterns, and propane camping lanterns from one tank. Add a propane tank gauge so the bulk tank does not run dry mid-dinner.
Butane isobutane mix canisters work for backpacking stoves in mild weather. They are light, packable, and quiet. Below freezing they lose pressure and the flame gets weak. Use them for summer and shoulder-season trips above about 35°F.
Isobutane blend canisters are the cold-weather upgrade. They keep feeding flame into the low 20s and below. The trade-off is cost: each can is more expensive than a basic butane mix.
Liquid fuel (white gas) handles winter and high altitude. It burns hotter and works below 0°F. Pumps add weight and priming steps. Reserve liquid-fuel stoves for serious cold or international travel where canister supply is thin.
For a deeper breakdown, see camp stove fuel types.
Fuel checks and connections
Thread canisters firmly by hand until snug. Do not overtighten with tools. Listen for leaks after connection. A hiss that does not stop means disconnect, inspect the gasket, and retry.
Store fuel upright in shade when possible. Hot cans in direct sun increase pressure. Keep spare canisters away from the active burner zone.
For propane two-burners, check hose age and regulator fit at the start of each season. Sticky valves get a gentle test open away from flame. Replace cracked hoses instead of trusting tape fixes.
Run a soapy water leak check before lighting. With the valve open and the burner off, brush a small amount of soapy water on every connection. Bubbles mean a loose fitting, a bad gasket, or a cracked hose. Tighten or replace before lighting.
First-light checklist
Use the same order every trip so nothing gets skipped when you are hungry.
Clear the cook zone of trash, paper, and tripping gear. Set the stove centered on the stable surface. Attach fuel and confirm no leak sound.
Open stove valves slowly. Light with a long match or lighter at the burner, not at the canister. Keep a camping fire starter in the same pouch when the piezo is dead. The UCO Stormproof Match Kit keeps matches dry and throws a spark when everything else fails. Adjust to a steady blue flame where possible.
Set a test pot with a little water to confirm stability and flame strength before you start dinner prep. Heat handles away from table edges.
Keep a lid, pot gripper, and dry towel within reach. Place a bucket of water or extinguisher nearby at group sites.
Confirm everyone knows the stove zone is active. Mark it with a verbal heads-up or a visible line on the table so kids and guests do not lean across hot metal.
Integrating stove setup with kitchen layout
Stove setup is one zone inside a larger kitchen. Prep belongs on one side, wash on the other. When the stove sits in the middle, you reduce walks across open flame with raw meat or wet hands.
Leave space for a cutting board and spice kit without stacking them over fuel. Height matters: a stove too low on a bench forces awkward reaches; too high on a stacked platform tips pots.
Morning coffee repeats the same setup. Store the stove, fuel, and coffee pot in one bin pocket so first light is copy-paste from the night before.
If two people cook together, agree who owns the stove and who owns prep. Parallel work cuts crossing paths with hot pots.
Common setup mistakes
Setting up on the picnic bench seat instead of the table top invites spills. Benches are narrow and move when someone sits.
Placing the stove at the table edge puts handles over empty air. One bump sends boiling water down.
Using a windscreen that touches the canister on hot long burns overheats fuel. Gap the screen or choose a design rated for your stove class.
Relying on piezo only leads to cold dinner when the spark dies in humidity. Backup ignition lives in the same pouch as the stove every time.
Cooking in vestibules during rain kills people every year from monoxide poisoning. Cook under a tarp with open sides or wait for a break in weather outside.
Setting a hot stove base on a sleeping bag or foam pad melts the fabric and starts a fire inside the tent vestibule. Use a hard surface or a dedicated camping stove stand when you must cook off the table.
Maintenance between trips
Wipe grime from burners so ports stay clear. For a full wipe-down after greasy meals, see how to clean a camping stove. Store stoves dry to avoid rust on grates. Fuel canisters travel empty or full, never partially open with leaking valves.
Check O-rings on liquid-fuel pumps yearly. Replace cracked seals before a trip, not at 10,000 feet.
Pack lighters in a waterproof bag. Wet matches fail exactly when you need them.
Keep a propane tank gauge on every bulk tank. Glance at the color before dinner so you swap tanks early. The Flame King Propane Tank Gauge reads on a Type-1 valve without tools and doubles as a leak detector on first connect.
When to rethink your setup
If setup takes twenty minutes every meal, simplify gear. Fewer adapters and one fuel type beat a flexible kit you dread unpacking.
If wind defeats you every coastal trip, upgrade to a stove with better shielding or commit to a taller wind break. Fighting the same problem three trips in a row is a gear signal.
If your table feels cramped, widen the kitchen zone or drop to one-pot meals. Setup stress often means layout, not skill.
A repeatable camping stove setup turns first light into a two-minute habit. Level base, screened flame, matched fuel, leak-checked connection, backup spark, and clear space around heat. Dinner gets easier when the boring steps happen before anyone is hangry.
Stove setup gear at a glance
Field notes from our counter
Gear to pack alongside the stove
Car-camp tables usually want the Coleman Triton 2-Burner Propane Stove on a level surface with the tank seated correctly and the lid used as a wind break when it is safe to do so. Add the Flame King Propane Tank Gauge to the tank valve before you light the first burner. A glance at the gauge tells you whether the weekend ends with dinner or a cold pot of beans.
Trail or backup boils belong on something like the MSR PocketRocket 2 Ultralight Camping Stove. Keep canisters upright, clear of tents, and shielded from strong wind without trapping heat against the canister. Pair it with the UCO Stormproof Match Kit in the same pouch so a dead piezo button does not end dinner.
Frequently Asked Questions
Where should I place a camp stove?
On a flat, stable surface downwind from tents and dry brush, with clear space around the flame. Never inside a tent, car, or enclosed porch.
What fuel is best for a camp stove?
Match the fuel to the stove and the trip. Propane works for car camp and runs cold mornings. Butane works for calm summer weekends and stores flat. Isobutane blend canisters handle shoulder-season cold. Liquid fuel (white gas) handles winter and high altitude. Check the maker's spec for the lowest temperature rating.
Does the bottom of a camping stove get hot?
Yes. The base and the burner housing absorb heat and radiate it onto the surface below. Place the stove on a camping stove stand, a trivet, or a heat-tolerant table. Never on a sleeping bag, foam pad, or dry grass.
Do I need a windscreen for every trip?
If your site is open or coastal, yes. Even light wind cuts heat and lengthens cook times. Use a screen that blocks breeze without enclosing a hot fuel canister.
How far should the stove be from the tent?
Many campers use at least ten feet as a practical minimum. Follow posted campground rules and keep flames away from nylon walls and low-hanging tarps.
Should fuel canisters be next to the stove?
Keep fuel upright and off the heat path. A spare canister belongs downwind and away from the burner, not touching the hot grate.
What if the piezo igniter fails?
Light with a backup lighter or matches every trip. Treat piezo as convenience, not your only ignition source.
Can I set up the stove on a picnic table bench?
Benches are narrow and tippy. Use the table top or a dedicated camp table with a wide footprint. Stability beats convenience when pots hold boiling water.
What is the fastest camping stove setup checklist?
Clear the zone, set a level base, attach fuel and listen for leaks, light with backup ignition, then test with a small pot of water before dinner prep.
How do I check for a gas leak before lighting?
Brush soapy water on the connection with the valve open but the burner off. Bubbles mean a loose fitting, a bad gasket, or a cracked hose. Tighten or replace before lighting.