Camp Kitchen Box: What to Pack and How to Organize It
Cookware
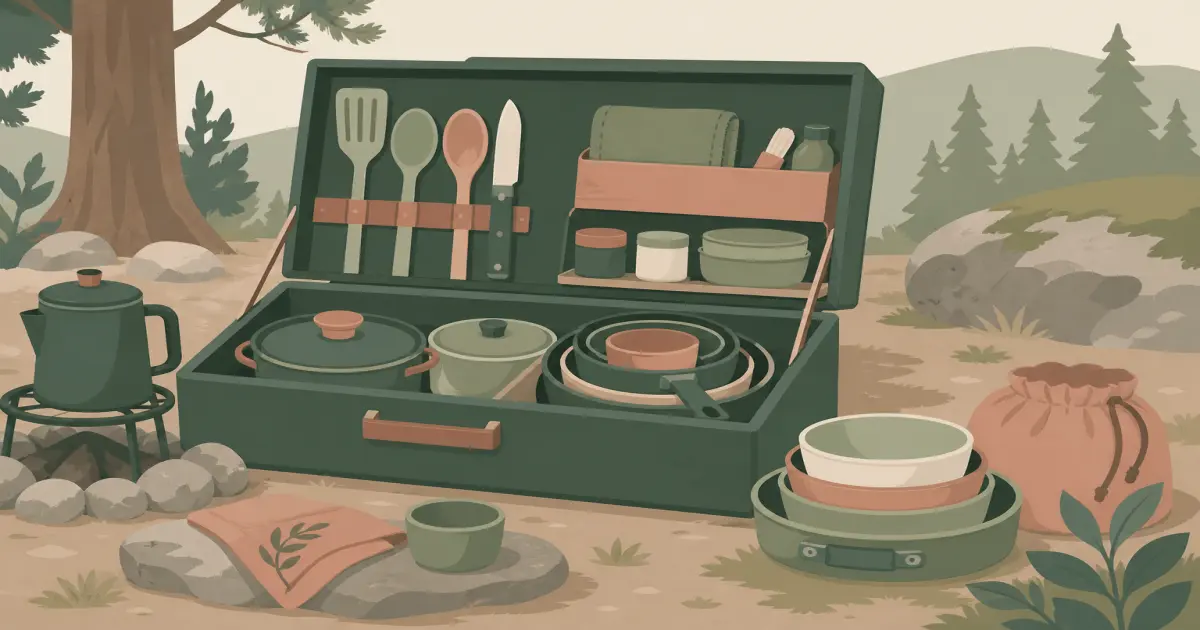
A camp kitchen box keeps pots, spices, and utensils in one grab-and-go bin. Pack by meal job, not by random drawer leftovers.
Our picks
Car camping gets easier when the kitchen is already built. Pack the stove, fuel, cookware, and wash kit in one box so Friday night is not a scavenger hunt. Keep the box off the dirt, wipe spills before they turn sticky, and leave room for a cutting board on top. The camp cookware category covers the individual pieces that fill a kitchen box, with the best camping cookware roundup for the core set.
Sibling systems: camp kitchen organization, camping kitchen checklist, and campsite kitchen setup.
What belongs in the box
Core categories:
- Cookware (pots, pan, lids) nested clean
- Utensils (spatula, ladle, tongs, knife in sheath)
- Eating kit extras (spare spoons, cutting board)
- Spices and oil in leak-resistant bottles
- Cleanup (sponge, small dish soap, trash bags)
- Fire tools that are kitchen-related (lighter, matches in waterproof case)
- Foil, zip bags, paper towels in a dry pouch
Optional: coffee kit, measuring cup, can opener, small colander. If you never use it at camp, leave it home.
A camp kitchen box is not a pantry for cans and chips. Those go in a food bin or cooler workflow so pests and crumbs stay managed.
Bin types and layout
Clear plastic totes let you see contents. Opaque bins hide clutter but need labels. Open crates ventilate but collect dust. Latch lids help on dusty roads.
Inside layout ideas:
- Bottom: nested pots and pans
- Middle: utensil tray or pouch
- Lid or top pouch: spices and soap (leak risk contained)
- Side gap: cutting board and towels
Use small containers inside the big bin. Loose spoons migrate under pans and vanish until week three.
Packing sequence before you leave
- Wash and dry cookware at home. Packing wet gear grows smells.
- Refill spice bottles and oil.
- Check fuel separately (fuel is not a kitchen-box passenger next to matches if your setup is careless; store fuel by stove rules).
- Restock trash bags and sponge.
- Place the camp kitchen box near the stove and table gear in the vehicle so unload order makes sense.
Pair with camping stove setup so the stove, fuel, and kitchen box arrive as one kitchen system.
At-camp workflow
Unload table first when you can, then stove, then kitchen box. Open the box once, pull what you need, close it between steps if bugs or blowing grit are bad. Keeping the lid culture prevents the “everything is sandy” dinner.
Wash dishes into a basin, not into the box. Dry utensils before they return. A damp sponge sealed in a closed tote will announce itself next weekend.
For dish process detail, see how to wash dishes camping.
Spices, oils, and leak control
Transfer oils into small bottles with secure caps. Put bottles in a zip bag. Label spices with masking tape so night cooking is faster. Giant glass grocery bottles break and waste space.
If something leaks, wipe the whole camp kitchen box before the next trip. Sticky residue collects dirt fast.
Scaling for group size
Two people: compact tote and a small pot set. Family of five: larger bin or two bins (cook tools vs cleanup). Do not scale by throwing random extras into one giant box. Split jobs when weight becomes awkward.
Coffee gear can be its own small pouch inside the box if mornings are sacred. See how to use a camping percolator if that is your brew path.
Common failures
The junk-drawer failure: holiday cookie cutters and broken tongs forever. Audit twice a year. The overflow failure: food, tools, and wet towels in one bin. The lift failure: a box too heavy for the person who usually unloads.
Another failure: packing the knife unsheathed. Protect hands and soft tote walls.
Build list for a first box
Start with a mid-size latch tote, nested pot set, one pan, utensil pouch, spice kit, dish kit, cutting board, lighter, and trash bags. Use it for one weekend. Add only what you reached for and did not have. That is how a camp kitchen box stays useful instead of aspirational.
What to buy for a working kitchen box
Build the box around two buys that work together: the GSI Outdoors Destination Kitchen Set 24 for utensils, board, spices, and scrubber, plus the GSI Outdoors Glacier Stainless Base Camper Cookset for pots and a fry surface.
Add your stove, lighter, trash bags, and a towel. Stop there until a real trip proves a missing piece. A kitchen box fails when it becomes a storage unit for gadgets you never heat.
Frequently Asked Questions
What is a camp kitchen box?
A dedicated bin or crate that holds cooking tools, spices, cleaners, and often nested cookware so you are not rebuilding the kitchen from house drawers every trip.
Plastic bin or wooden chuck box?
Plastic bins are cheap and weather friendly. Wooden chuck boxes look classic and can include a fold-out shelf. Choose based on budget and how often you car camp.
Should food live in the same box?
Keep perishable food in a cooler. Shelf-stable spices and oils can live in the kitchen box in spill-safe containers.
How big should it be?
Big enough for your real cook set and utensils, small enough for one person to lift. Giant boxes become junk drawers on wheels.
Do I need a camp kitchen box for backpacking?
Usually no. Soft stuff sacks win on trail. Kitchen boxes shine for car camping and base camps.
How do you clean a camp kitchen box after a trip?
Wipe out spills before they turn sticky, wash and dry cookware at home, and leave the lid open until the bin is fully dry. A damp sponge sealed inside will announce itself on the next trip.