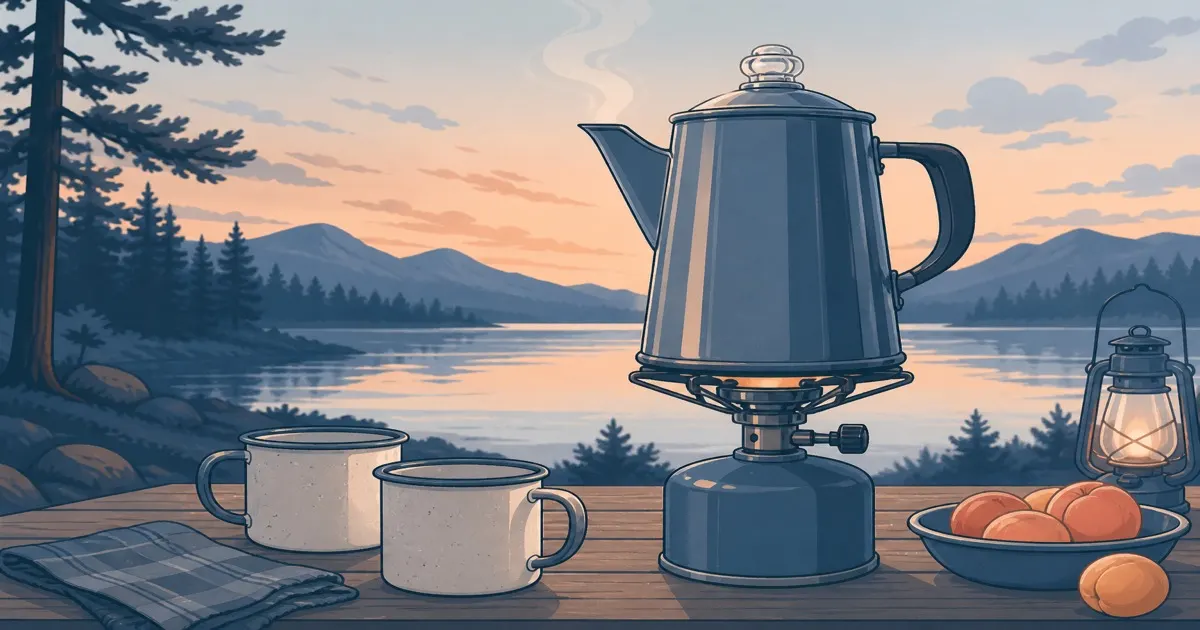
Camping Percolator: Classic Stove-Top Coffee Without the Bitterness
Coffee
A camping percolator makes a big pot of coffee on a stove with almost no extra gear. Choose size for your group, keep the heat gentle, and stop before the brew turns bitter.
Our picks
A camping percolator is the loud, nostalgic coffee option. Water heats, rises through a stem, showers the grounds, and falls back into the pot until the brew is done. Done well, it feeds a table. Done carelessly, it tastes like burnt diner coffee. Heat control is the whole game. A two-burner propane range makes a gentle cycle easy. A roaring flame under a full pot makes it bitter. The coffee category compares this classic with drip and press options.
For the heat-and-timing method, use how to use a camping percolator. For the wider coffee menu, see best camping coffee maker and how to brew coffee camping.
When a camping percolator makes sense
Choose a camping percolator when mornings are a group event and you already run a stove. One pot replaces a stack of drip cones. You can heat water and brew in the same vessel. That matters when the picnic table is crowded and everyone wants coffee before packing.
Skip it if you backpack light, hate bitter risk, or only brew one mug. A press mug or pour-over is simpler for solo trips. Skip giant 12-cup pots if you camp as a pair and will never fill them. Empty headspace and long heat cycles waste fuel.
Car camping with a two burner camping stove is the sweet spot. One burner runs the percolator while the other runs eggs. Backpacking canister stoves can work for small percolators if the base is stable and the wind is calm.
Size, cups, and real servings
Retail “cups” on a camping percolator are often smaller than a home mug. Read the ounce marks if the maker lists them. A “6-cup” pot may pour three solid mugs once you account for grounds absorption and a thermos fill.
Solo kits do fine with a small pot if you accept one round. Couples who also fill a camping thermos usually want mid-size so the second pour is not a second wait. Family sites and group trips want the larger pots, plus a plan for grounds disposal that is not the forest floor.
Leave headspace. A percolator filled to the rim can spit through the knob and drown the burner. Follow the fill line under the basket stem.
Materials and build details
Stainless camping percolators survive kitchen boxes and scrubbing. They heat a bit slower than thin aluminum but take abuse better. Aluminum heats fast and stays lighter. Watch soft bases on uneven fire grates.
Enamel-coated pots look camp-classic. They chip when they bang into cast iron or a lantern. Fine if you pack them in a sleeve or their own corner of the tote.
Clear knobs help you watch brew color. Not every model has one. Without a knob, you rely on time, smell, and a careful taste. Basket lids keep grounds from floating into the pot. Bent stems and crooked baskets make uneven coffee. Dry-assemble at home once before the trip.
Handles should stay usable when the pot is hot. Bail handles need a glove or pot holder. Side handles help pour into mugs. Plastic knobs and soft grips must stay clear of flame skirts and windscreens.
Heat control beats gear theater
The camping percolator fails when people treat a hard boil as a virtue. Bring water and grounds to the point where percolation starts, then lower the heat so the cycle is gentle. A few calm minutes beat ten minutes of violent spurting.
If your stove only has one aggressive setting, use a camping stove windscreen carefully and pull the pot sooner rather than later. Practice once at home on a kitchen burner if you can. Camp is a bad place to learn bitterness for the first time.
Fuel choice still matters. Canister stoves are predictable for weekend car camp. Liquid fuel kits need more attention. See camp stove fuel types if you are still picking a stove system.
Packing, grounds, and cleanup
Pack the camping percolator where the stem cannot bend and the knob cannot crack. Nest the basket inside the pot. Keep a small towel for spills. Coffee oils cling to lids and stems, so rinse after breakfast when residue is soft.
Dump grounds in trash when rules require it. Do not broadcast wet grounds around a site if leave-no-trace guidance says no. At home, wash the pot, stem, and basket so oils do not go rancid before next weekend.
A bottle brush helps narrow stems. Avoid abrasive pads on coated interiors. The same habits as how to clean camping cookware apply.
Percolator and coffee backups
The Coleman Stainless Steel Coffee Percolator 12-Cup is the classic group pot for a two-burner morning. Watch the brew window so you do not turn coffee into bitter camp sludge.
If you want insulated coffee without percolator timing, the STANLEY Classic Stay-Hot French Press 48 oz holds a crowd pour and stays hot.
Solo travelers who hate percolator cleanup can pack the AeroPress Original Coffee Press instead and still get a strong cup from the same kettle water.
Common mistakes
Buying a huge camping percolator for two people. You wait longer, burn more fuel, and still drink mediocre coffee if heat stays high.
Using espresso-fine grind. Baskets clog and the brew turns muddy and bitter. Medium drip grind is the safe default.
Leaving a roaring flame under the pot while you pack the tent. Come back to harsh coffee and a sooty mess. Stay nearby once percolation starts.
Skipping a dedicated mug plan. Hot percolator coffee wants a stable camping coffee mug with a lid if the table is crowded.
How it fits the rest of the coffee kit
A percolator pairs well with a kettle only if you also make tea or instant for non-coffee drinkers. Many groups run percolator only. Others keep a small press for the person who hates percolated flavor.
If you want named pots and a shopping shortlist, use our best camping percolator guide. For brew method comparisons without a shopping list, stay on how to brew coffee camping.
Bottom line
Buy a camping percolator when stove-top group coffee is part of the trip, not a novelty. Match size to real mugs, keep heat gentle after it starts cycling, and clean the stem and basket every outing. Classic gear only tastes classic when you do not punish it with a hard boil.
Frequently Asked Questions
Is a camping percolator better than a French press?
A percolator is better when you want a bigger pot on the stove and do not want to press a plunger. A press is cleaner for small batches and packs flatter. Many car campers keep both options.
What size camping percolator should I buy?
Match cups to your group, not to wishful hosting. Solo or couple kits often land near 3–6 cups. Family car camp often wants 8–12 cups so you are not running two rounds.
Stainless or enamel camping percolator?
Stainless is tougher in a kitchen box. Enamel looks classic and can chip if it shares a tote with cast iron. Both work on a dual-burner if the base is stable.
Can I use a camping percolator on an open fire?
Some models handle grate heat; many thin pots prefer a controlled stove burner. Soot and hot spots rise on open flame. Check the maker notes before you commit.
Why does percolator coffee taste bitter?
Heat stays too high too long. Bring it to a percolate, then lower the flame so it cycles gently. Pull it before the brew goes harsh. Details live in how to use a camping percolator.
Do I need a special grind?
Medium grind works for most camping percolators. Fine espresso grounds clog baskets. Extra-coarse can taste weak. Buy a bag ground for drip if you do not want to grind at camp.